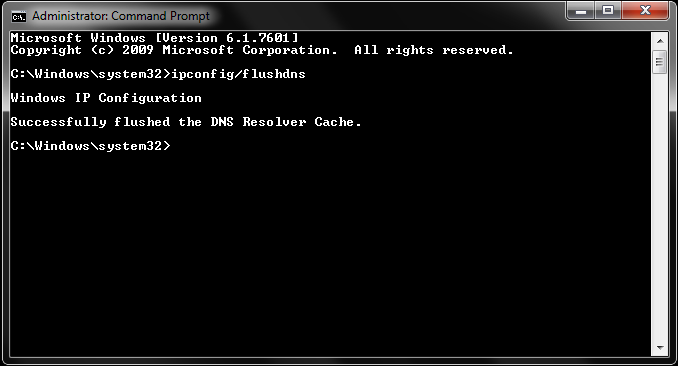
The following guide will teach you how to flush your DNS Cache.
The first step to flushing your DNS is to open your “Windows Command” prompt.
- WinXP: Start, Run and then type “cmd” and press Enter.
- Vista, Windows 7 and Windows 8 or Windows 10 : Click “Start” and type the word “Command” in the Start search field. Finally, right-click the command prompt icon and select the option to “Run as Administrator”.
- In the open prompt, type “ipconfig /flushdns” (without the quotes).
- You should receive a message of your success as confirmation when the cache is cleared.

Flushing the cache removes all the information stored in the cache, forcing the computer to find new DNS information.
Related Articles
Upgrade or Downgrade Hosting Plan
There is no extra fee for upgrading, or downgrading, a package. The only difference is in the price between your old package and the new, which will be reflected in our Client Area. You may upgrade or downgrade at anytime. To request for upgrade, ...Why don't you offer unlimited disk space and bandwidth?
There is no such thing as unlimited disk space and bandwidth. Any company that promises you unlimited disk space and bandwidth is counting on the fact that you will not use it, and if you do they will quickly find ways of either forcing you to pay ...Install SSL on Your Domain form cPanel.
Step 1. Login into your cPanel. Step 2. You will find the search bar at the top of your cPanel, Search for "Lets Encrypt" and select "Lets Encrypt SSL Step 3. After clicking on "Lets Encrypt SSL", you have to find "issue a new certificate", and click ...